
iStorage Server Online Help

| About Standard Image File Device | KernSafe iSCSI SAN User Manual |
|
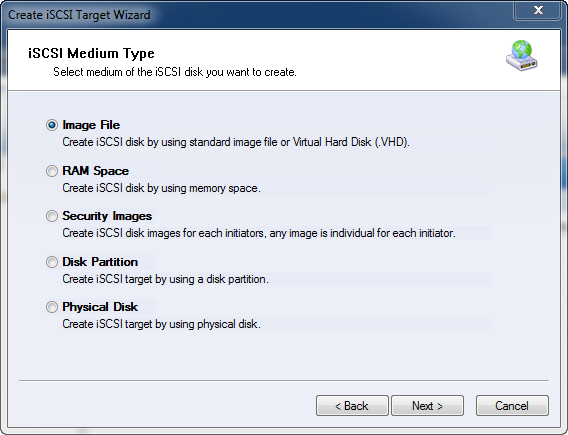
Standard Image file disk is an image file in KernSafe iSCSI SAN. iSCSI SAN service will create a disk based on an image file in host physical hard drive. The image file will be exported to an iSCSI device by KernSafe iSCSI SAN. The file operations to the iSCSI device will be converted to operating the image file automatically. Image file disk is the most popular way to create the iSCSI device, the image file allows quick data migration, backup and restore, so it is suitable for most of situations. Creating an Image File Device Follow the steps below to create a file image device: Step 1. Select Service-> Create Target from the Storage pop-up menu On the main interface of KernSafe iSCSI SAN.
Choose 'Hard Disk ' in the iSCSI Device Type group.
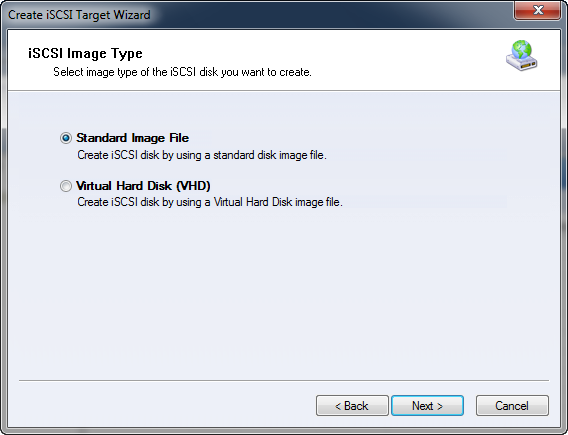
Choose 'Image File' from iSCSI Medium Type group. Step 2. Select image type of the iSCSI disk you want to create.
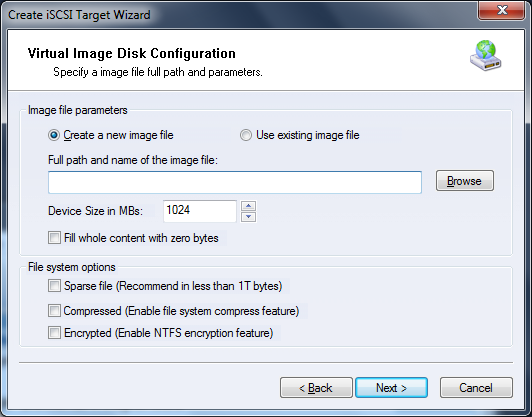
Select 'Standard Image File'. Press the Next button to continue. Step 3. Set image disk parameters.
In Image Disk Configuration window, user can either select to open an existed image file or choose to create a new image file. To create new image file, please select the location of the file where user wants to create the file, specify the capacity of the image file. There are several options to choose from:
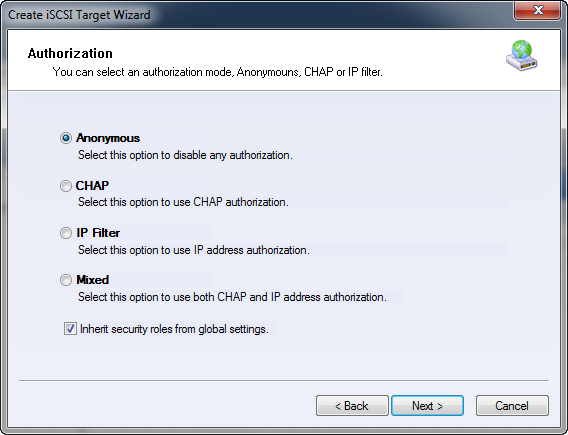
Press the Next button to continue. Step 4. Set the Authorization Mode.
Select an authorization mode, if you don't know how to it, you can see the
topic
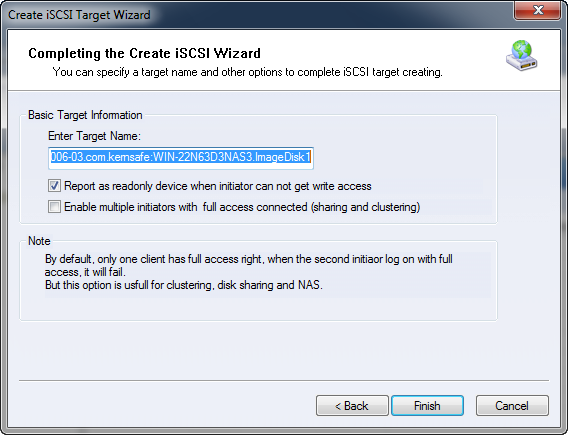
Authorization Mechanism. Step 5. Enter the Target Name.
Press the Finish button to complete iSCSI target creation. | |

SUPPORT
- Forum
- Support Ticket
- [email protected]

- Voice Mail:
- +1 (518) 289-4888